Java Reference
In-Depth Information
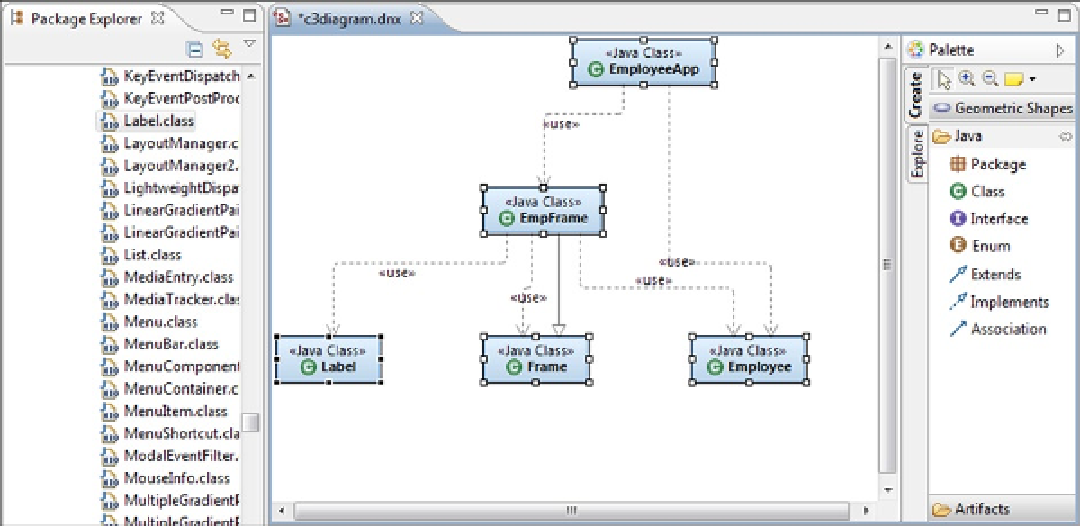
The entire diagram will now be displayed in the content pane (see Figure
3-18
).
Figure 3-18.
RAD does a pretty good job arranging the diagram but sometimes you have to get in there and do it yourself.
As mentioned, all of the diagram elements (i.e., the class rectangles, relationship lines, text, etc.) can be move and
resized by clicking and dragging. In addition, any element can be deleted and the text can be modified. We will delete,
move, align, and resize the class rectangles to make the diagram easier to read.
6.
Click the EmployeeApp rectangle to select it.
7.
Press and hold Ctrl then click the EmpFrame rectangle.
The order in which the rectangles are clicked is important. The last element clicked becomes the anchor. (The
anchor is indicated with solid black resize handles.) When alignment functions are performed, the anchor stays in the
same location and all other selected elements are moved to align with its location.
8.
Right-click on the EmployeeApp rectangle and select Format, Align, and then Middle.
The EmployeeApp rectangle was moved down and is now horizontally aligned with EmpFrame but the two class
rectangles overlap. As mentioned, the rectangles and lines can be resized and repositioned by clicking and dragging.
We will move the EmployeeApp rectangle to avoid the overlapping.
9.
Click and drag the EmployeeApp rectangle so that it is horizontally moved to the right and
vertically centered over the Employee rectangle.
10.
Click and drag the Frame rectangle so that it is centered above EmpFrame.
11.
Drag Label and Employee rectangles under the EmpFrame.
12.
Increase the Employee rectangle's width so that it is also under EmployeeApp.
13.
Click and drag all the connector lines so that they are straight.
The diagram should look like Figure
3-19
.