Java Reference
In-Depth Information
6.
Click the OK button.
The “Java Setup - Destination Folder” window will be redisplayed with F:\jre specified as the destination.
7.
Click the Next button.
A progress window is displayed as the installation is performed. This may take a while, depending on the speed
of the computer and the media chosen for the install. In addition, if there are open browser sessions, you will be
required to close them to continue the install. (There are other applications that you may also be prompted to close.)
Eventually, the “Java Setup - Complete” window will be displayed.
If the installation was successful, a folder named jre containing the JRE will be on the F: drive.
8.
Verify that the JRE has been installed by double-clicking on My Computer, then double-
clicking the F: drive icon to display the contents of the F: drive.
There should be a new folder called jre.
9.
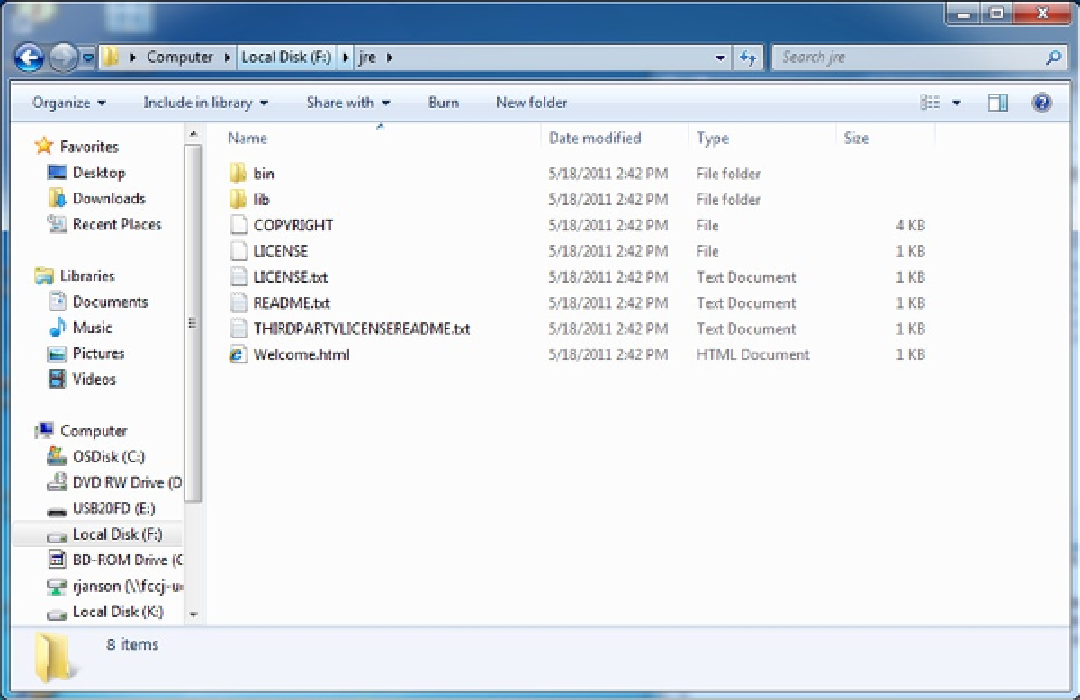
Double-click the F:\jre folder to display the contents.
The window should look like Figure
A-12
. (The contents of the folder may also change with new releases.) Most
of the files contain general and legal information. The README file does contain a list of subfolders and files that are
not essential for running Java applications. However, the entire jre folder is approximately 90 MB, so space should not
be a problem.
Figure A-12.