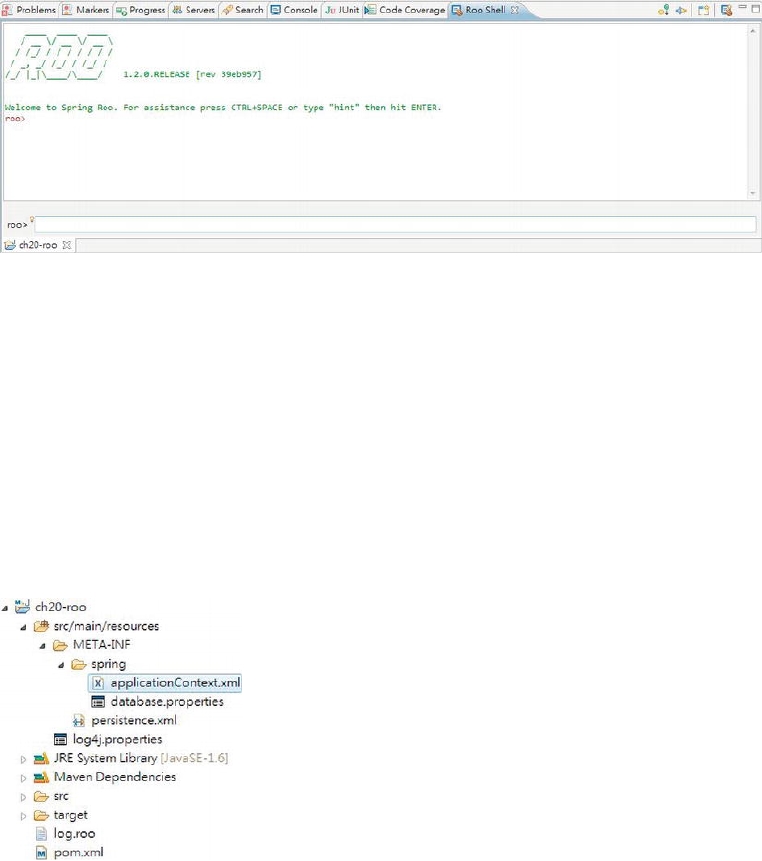
Then click Next and Finish, and STS will create the project. STS will also open the Roo Shell view
automatically, as shown in Figure 20-11.
Figure 20-11. The Spring Roo Shell view in STS
Let's proceed to configure the DOM.
Set Up the Persistence Layer and Entity Class
For the DOM, Spring Roo provides first-class support for JPA entities. Setting up the persistence layer
and the corresponding entity classes that are required for the application is the first step.
In this sample, we will set up the persistence layer using the H2 in-memory database as the backend
and using Hibernate as the JPA persistence provider. To do this, enter the following command at the Roo
prompt:
persistence setup --database H2_IN_MEMORY --provider HIBERNATE
The persistence setup command is to instruct Spring Roo to create the persistence layer for our
application. The options specify the H2 database with Hibernate as the provider. In Roo Shell, all options
are prefix with --, and you can always press Ctrl+spacebar for code assistance and hints. Press Enter, and
then Roo will generate the persistence layer. Upon completion, in the Package Explorer, you will see the
project structure, as shown in Figure 20-12.
Figure 20-12. The Spring Roo project with the persistence layer
Search WWH :


