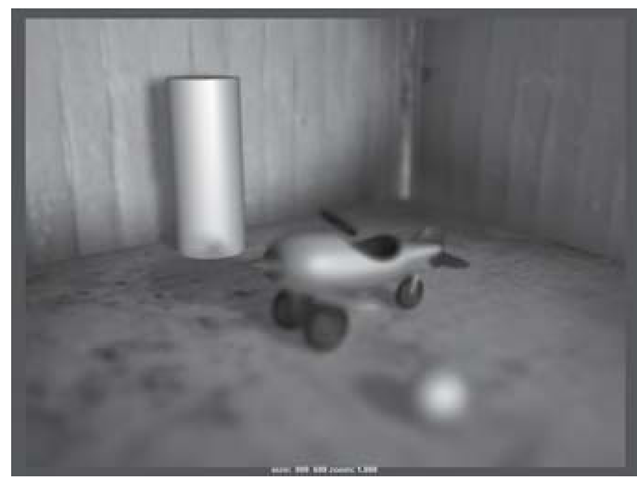
Typically, one of your goals in rendering will be to mimic the look of film shot \ età through a still or motion picture camera. By default, Maya’s renderer operates a bit like a perfect camera in a vacuum — there are no flaws. This sounds great, but it’s nothing like what audiences are used to seeing. Introducing flaws and optical phenomena to the Maya camera can go a long way toward mimicking realism. Depth of field is one such technique. Notice the depth of field in Color Plate II.
In a real-world film camera, in order to get a good exposure, you may need to increase the amount of available light hitting the negative. This is done by opening up the aperture. (Note: The camera’s aperture is measured by a setting known as an f-stop; low f-stop numbers are equal to wide apertures.) As this aperture is increased, the camera’s ability to keep a deep focus is decreased. So, while you may have focused on a subject in the middle distance, the background and foreground will go out of focus. This effect is called “depth of field.”
Depth of field can be used to great effect. It makes your 3D scenes look more like they were photographed with a film camera. Also, you can use a change in depth of field to focus the audience’s attention on a different subject without even moving your camera.
Rendering Exercise — Depth of Field
1. Set your project to understanding_maya\Chapter03\rendering_dof.
2. Open the scene rendering_dof_begin.ma.
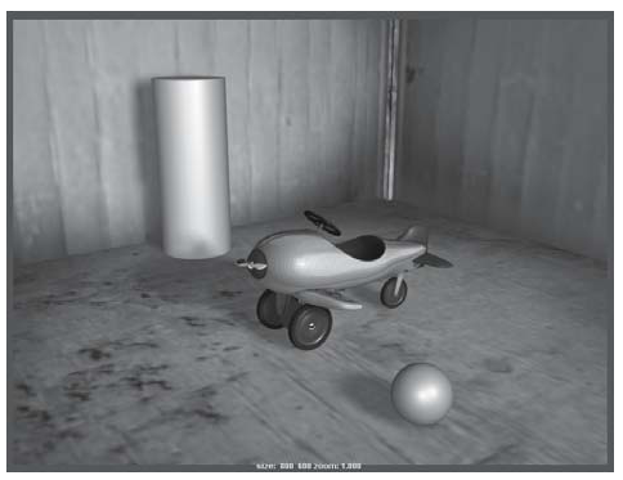
3. In the scene you will see the airplane sitting in the barn. In the foreground is a sphere and in the background, a cylinder. Activate the Cameral view panel (the active panel has a thicker border around it). Now click the Render current frame button on the shelf.
4. In the Render View window you’ll see an in-focus render of the plane as in Figure 3.96. Such an infinite focus is definitely possible in the real world if there’s lots of available light, but it sure isn’t very dramatic, is it?
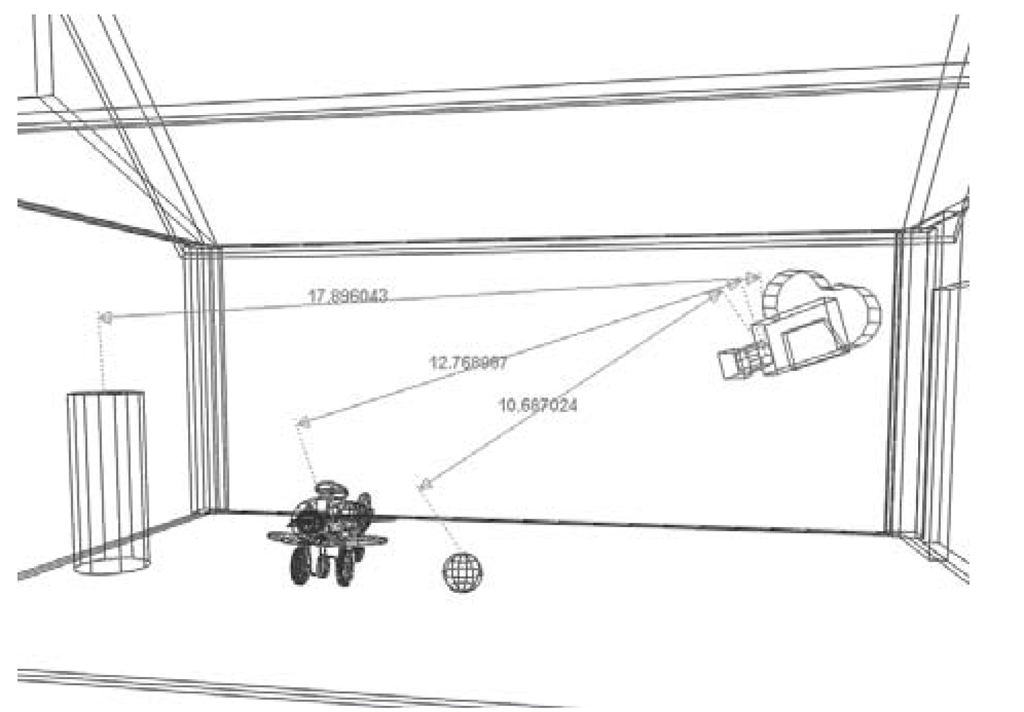
5. Let’s look at some of the measurements in the scene (see Figure 3.97). If you look at the Perspective l view, you’ll see that some distance measurement tools have been created between the camera and the three subjects. (This is found under Create > Measure Tools
Figure 3.96: Render without depth of field > Distance Tool.)
6. Select the cameraShape1 object. In the Attribute Editor, turn on the Depth of Field checkbox.
7. Next, set the camera’s aperture to a small number, such as an F Stop of 4. Remember, a small aperture equals a narrow depth of field. (Unlike a real film camera, Maya’s cameras won’t actually adjust the amount of incoming light when the f-stop is changed, so don’t worry that you’ll change the apparent brightness of your scene.)
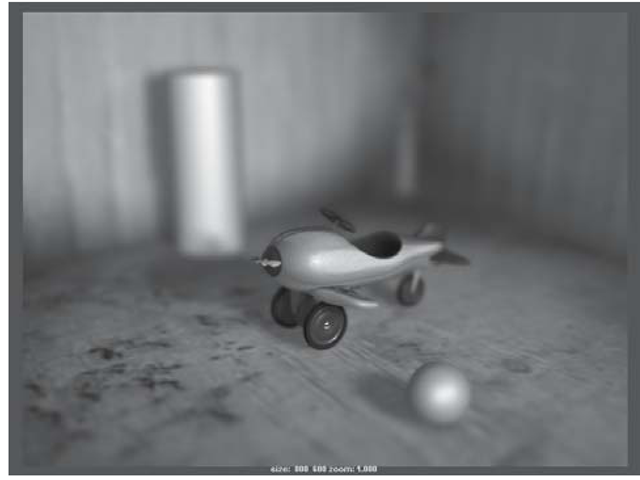
8. The Focus Distance can be set to equal the camera’s distance from the pursuitPlane, which the distance tool reports as about 12.7 units. This will produce a depth of field effect where only the plane is in focus. Render your scene (see Figure 3.98 and Color Plate X).
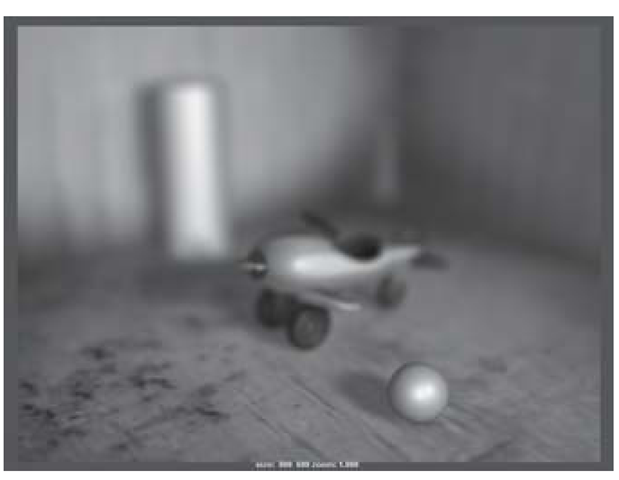
9. Try setting the Focus Distance to 10.6 for an in-focus sphere as in Figure 3.99, and then try 17.9 for the in-focus cylinder as in Figure 3.100.
Figure 3.97: Measuring distance from camera
Figure 3.98: Focus distance of 12.7 units
10. You may also want to experiment with different F Stop values from 1 to 64, in order to see the change in focal depth. This value can also be animated for a “rack focus” effect. This technique is often used to guide the viewer’s eye from one subject to another without moving the camera.
Figure 3.99: Focus distance of 10.6 units
Figure 3.100: Focus distance of 17.9 units
Project 3 — Curved Half Pipe
Add character to the egg by making it teeter on the brink of rolling at first, using the Graph Editor.
• Use the Graph Editor to shape the ease-in and ease-out.
• Create realistic shadows.
• Use a file texture in your shader.
• Shoot the scene through a depth of field camera.
