A geometric primitive is a basic building block of 3D CO geometry, such as a sphere, cube, cylinder, cone, or torus. In the following examples we’ll look at a primitive sphere.
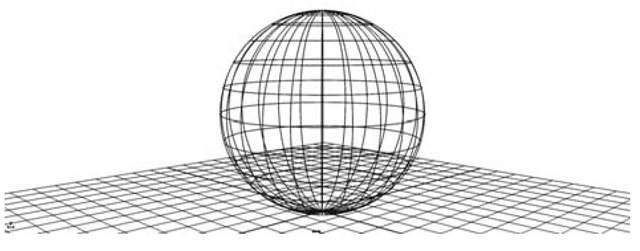
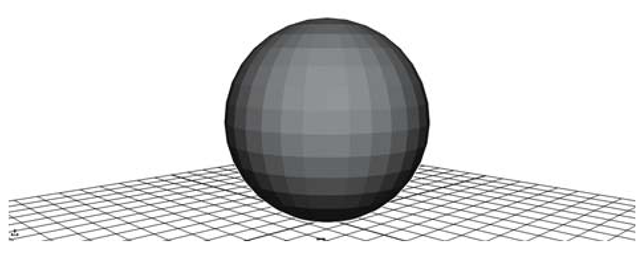
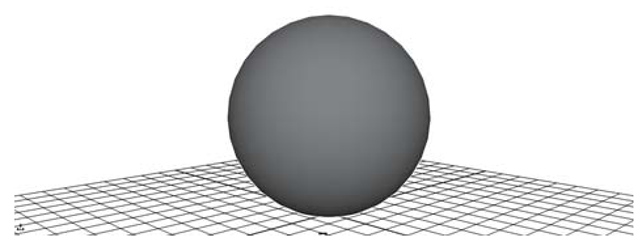
In Figure 1.38 you see the wireframe representation of a sphere. The same sphere can be represented in a faceted shaded mode, as in Figure 1.39. And a smooth shaded mode is shown in Figure 1.40.
Figure 1.38: Wireframe sphere
Figure 1.39: Faceted shaded sphere
Figure 1.40: Smooth shaded sphere
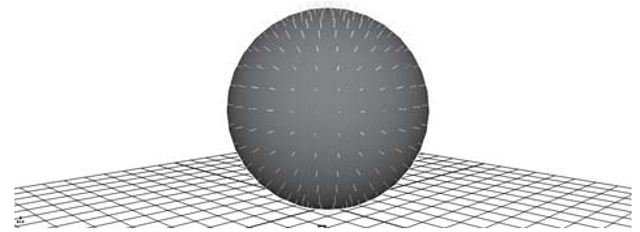
Figure 1.41: Smooth shaded sphere with visible normals
One of the sphere’s surface properties represented in Figure 1.41, is the direction of its surface normals. A normal is a short line that grows perpendicular to the surface, much like a hair from your head. It describes the direction that the surface patch or face is pointing. In essence, every surface has a “front” and a “back.” Normals point out of the front of a face.
Modeling Exercise — Chick
To become familiar with some of the basic geometric primitives, you’ll build a simple stylized character. A model of a baby chick will be formed by creating primitive objects and then moving, rotating, and scaling them into place. While it is possible to model characters using much more complex techniques, this building block approach can be very effective.
In Maya, newly created objects sit right in the middle of the world, a place known as the origin. After creating a primitive you will then translate, rotate, and scale it into position. Remember that the Channel Box gives you precise numerical feedback on your transformations, so watch the numbers as you position, rotate, and scale the various pieces of your model.
One thing to keep in mind while working is that the numbers in the Channel Box are less important than the look of your model onscreen. In some tutorials, replicating the exact numbers will be very important. This is not one of those tutorials. (I’ve listed the numeric values I used so you can match the model exactly if you like, but feel free to build a different bird.) So, relax, use your artistic judgment, and most important, have fun modeling.
1. Create a new project directory by clicking File > Project > New.
2. Enter the name Modeling_Chick in the Name field.
3. Click the Use Defaults button, followed by the Accept button. This instructs Maya to generate a directory structure on your hard drive that will act as the home to the various related parts of your projects. Scenes, sounds, rendered frames, texture files, and many other types of data will be properly stored and easily accessible when you use the project.
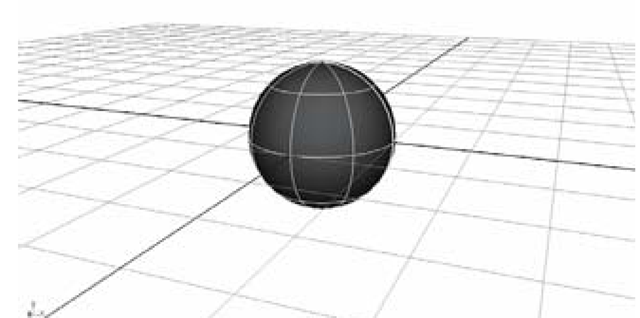
4. Let’s start out by creating a body for the chick. Click Create > NURBS Primitives > Sphere. This places an object named nurbsSphere1 into the scene, with its center located at the world origin, or 0, 0, 0 (see Figure 1.42).
In Maya, the grid acts as a reference point for objects, sort of like a virtual floor. This is an arbitrary floor, however. You are welcome to place your models anywhere in the scene, even below the grid. Since the grid does not appear when you render the final frames of animation, your scene’s relative position to the grid will not matter. That said, it is convenient in many scenes to treat the grid like a floor, which is what we’ll do throughout this topic.
Figure 1.42: Initial body sphere
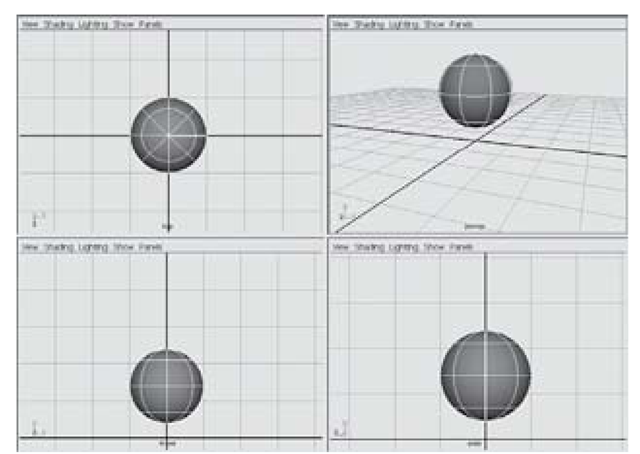
Figure 1.43: Sphere positioned above grid
5. Next, we’ll move the sphere above the grid. With the nurbsSphere1 object still selected, choose the Move Tool from the Tool Box. Click-drag the green Y-axis handle upwards, until the nurbsSphere1 is 1.4 units above the grid (see Figure 1.43). Remember to check the Channel Box to verify, or edit, the value you have changed.
This is a good time to give the nurbsSphere1 object a more descriptive name. It requires a good bit of discipline to name your objects as you create them, but I promise that this effort will pay off. Typically, your scenes will become filled with tens or even hundreds of objects; your ability to select and manipulate those objects is greatly improved by descriptive naming.
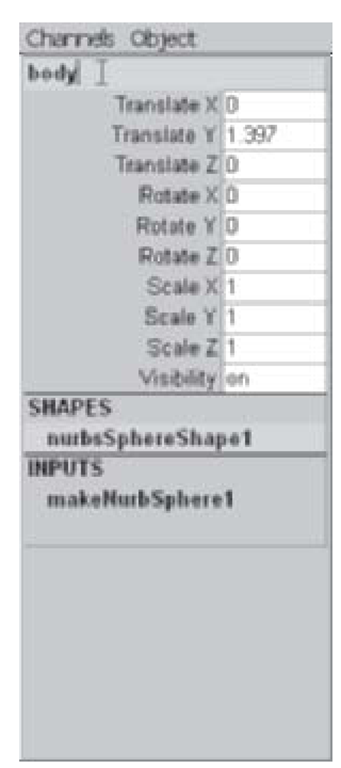
6. One place to rename an object is in the Channel Box as in Figure 1.44. Highlight the name nurbsSphere1 by LMB-clicking it. Next, type the name body and press Enter on the keyboard.
7. Save the scene by clicking File > Save Scene. In the Save Window type modeling_chick in the File Name: field. Click the Save button.
8. We’ll create the chick’s head in much the same way. Click Create > NURBS Primitives > Sphere.
Figure 1.44: Renaming in the Channel Box
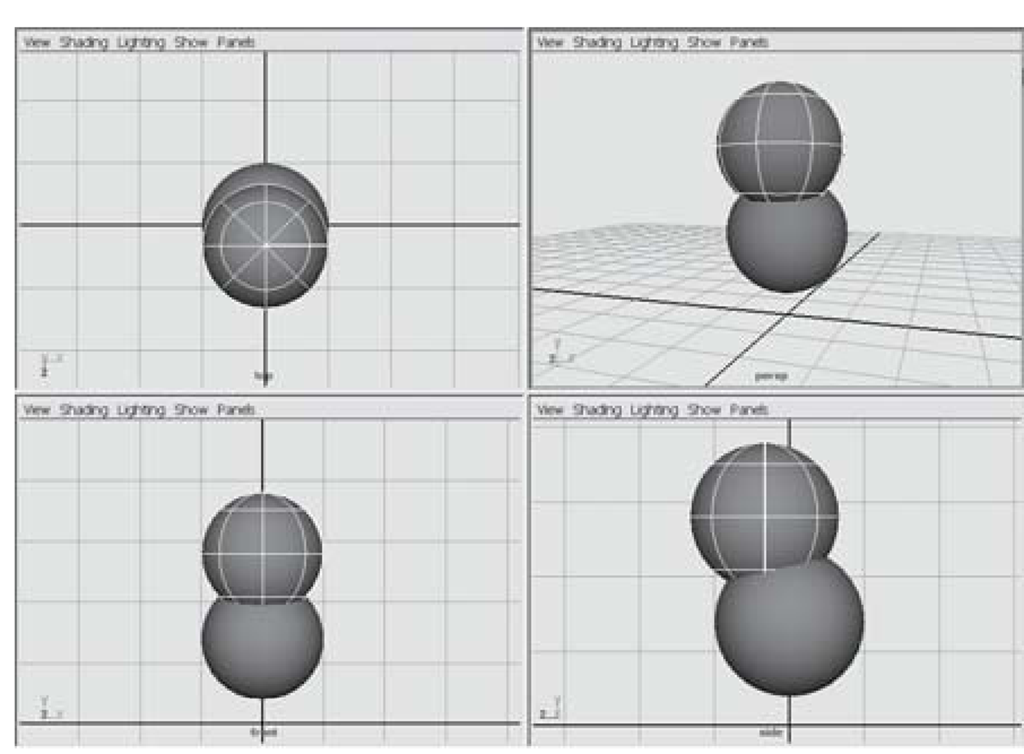
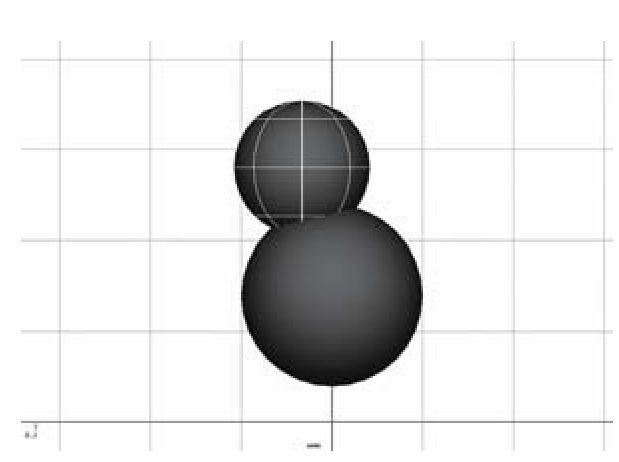
9. Move this new sphere up in the Y-axis and out in the Z-axis to place it above the body. The values in the Channel Box should read Translate X = 0, Translate Y = 2.8, and Translate Z = 0.33 (see Figure 1.45).
10. Rename this sphere head.
Figure 1.45: Repositioned head
Figure 1.46: Rescaled head
11. The chick’s head is too large, so we’ll scale it down a bit (see Figure 1.46). Pick the Scale Tool from the Tool Box. By default, when you switch to one of the transformation tools, it can be manipulated on all three axes simultaneously. Notice the yellow box in the Scale Tool’s center — click on this yellow box, then drag to the left to scale the head down in size. Stop when you reach 0.75 on all three axes.
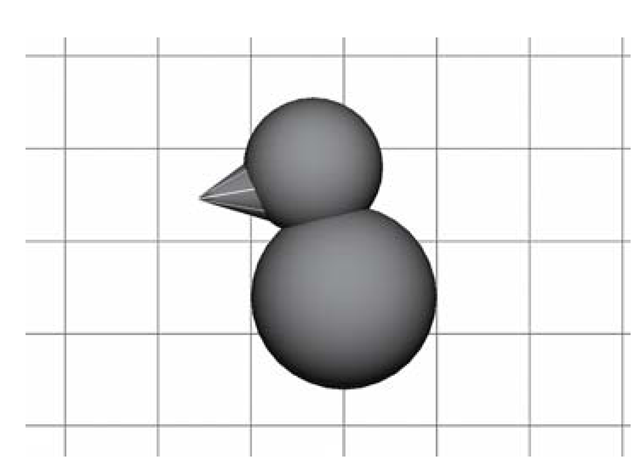
12. Next, let’s give this bird a beak. Click Create > NURBS Primitives > Cone (see Figure 1.47). Rotate the cone 100 degrees on the X-axis. This orients it properly. Translate it up and out on the Y- and Z-axes to a position of 0, 2.6, 0.8. (In describing an object’s translation, the three coordinates are always listed in the order X,Y,Z. The same is true of rotation and scale.) Finally, scale the cone down in size to 0.42, 0.42, 0.42.
13. Be sure to rename the cone beak.
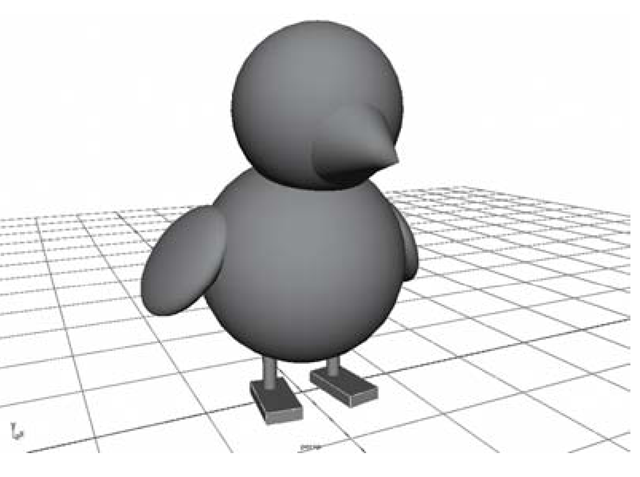
14. OK, the chick is coming together nicely now — time to give him some wings. For this, we’ll use a couple of spheres. By scaling them non-proportionally we can get an appropriate flattened shape. Click Create > NURBS Primitives > Sphere. Rename the sphere right_wing.
Figure 1.47: Beak cone
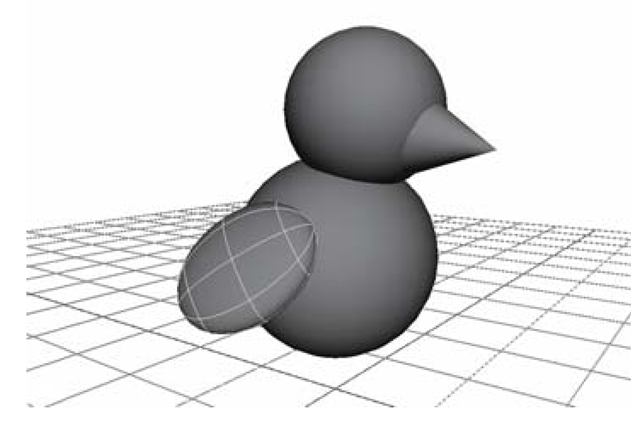
Figure 1.48: Right wing
15. Translate the right_wing to -1.1, 1.45, -0.2. This places it off to the right side of the chick’s body.
16. Using the Scale Tool, or through direct input in the Channel Box, scale the right_wing to 0.2, 0.68, 0.5.
17. Last, rotate the right_wing to 48, 8, -28. The wing is now in its proper place (see Figure 1.48).
18.For the other wing, create another NURBS sphere, name it left_wing, and then repeat the above steps. The only differences will be in the translation and rotation: translation = 1.1, 1.45, -0.2 and rotation = 48, -8, 28.
19. Save your scene. Since it has already been named, you can simply click the floppy disk icon on the Status Line, or press <crtl> s on your keyboard (see Figure 1.49).
20. For the chick’s legs, some simple cylinders will do the trick. Click on Create > NURBS Primitives > Cylinder. Rename the cylinder nght_leg. Move the right_leg into position: translation = -0.35, 0.45, 0.
21. Scale the leg down to size; Scale = 0.07, 0.35, 0.07.
22. Build the left_leg the same way, but be sure to translate to the other side: translation = 0.35, 0.45, 0 (see Figure 1.50).
Figure 1.49: The save disc icon on the Status Line
Figure 1.50: Leg placement
Figure 1.51: Foot position
23. Save your scene.
24. We’ll use a couple of squashed cubes for the feet (see Figure 1.51). Click Create > Polygon Primitives > Cube. Rename the cube right_foot. Scale the cube down to more foot-like proportions: Scale = 0.35, 0.12, 0.7.
25. Next, rotate the right_foot object slightly on the Y-axis; -8° will do. This tilts it out a bit.
26. Last, move the right_foot into position under the nght_leg object. Translation = -0.37, 0.08, 0.18.
27. Repeat these steps for the left_foot, making sure to rotate the other direction, 8°. Translation will be 0.37, 0.08, 0.18.
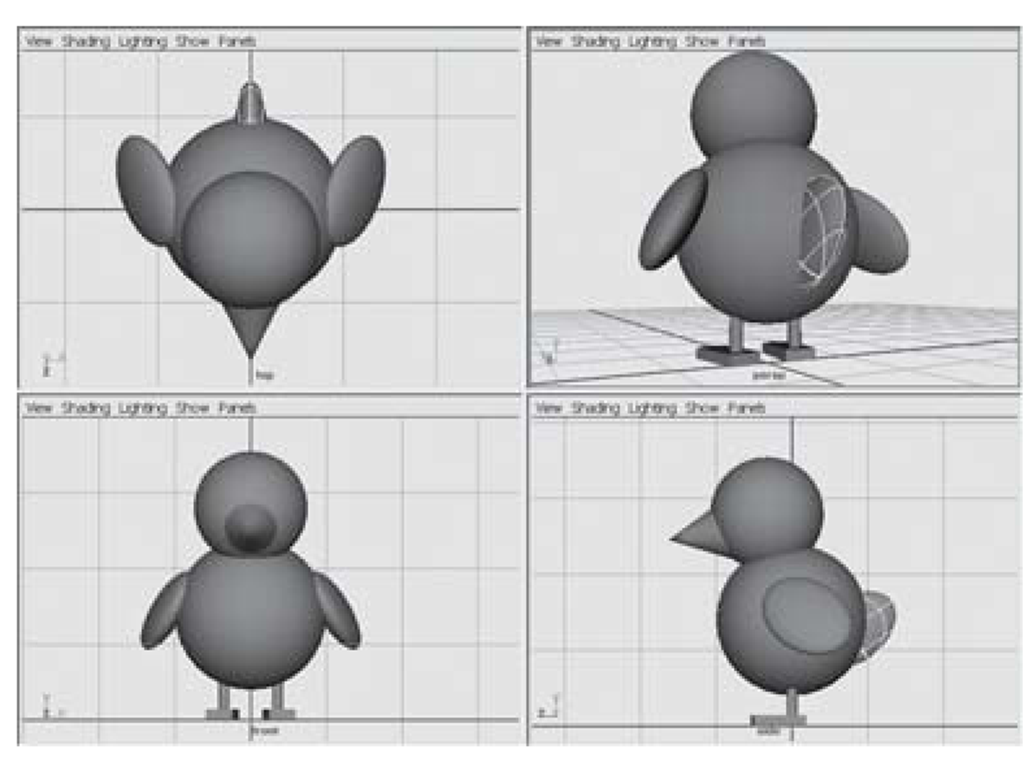
28. The tail and crest will be built in a similar fashion to the wings. First, you’ll create a sphere, then you’ll non-uniformly scale it, rotate it, and position it into place. Click Create > NURBS Primitives > Sphere. Name this sphere tail.
29. Move the tail to the back of the body. Translation = 0, 1.25, -0.75.
30. Scale the tail into an appropriate shape. Scale = 0.2, 0.45, 0.7.
31. Finally, rotate the tail to a 35° angle on the X-axis in order to tilt it up (see Figure 1.52).
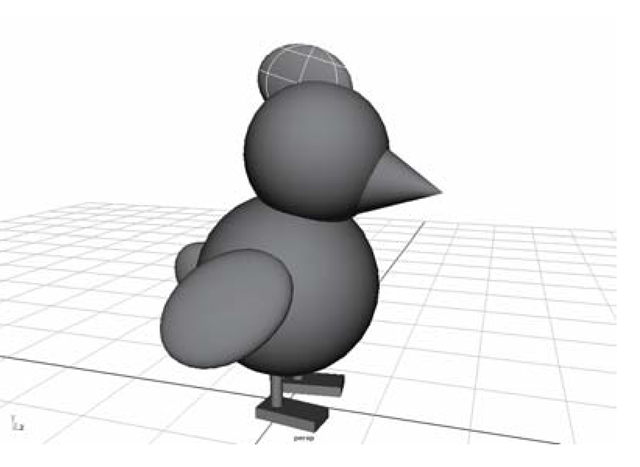
32. For the crest (see Figure 1.53), click Create > NURBS Primitives > Sphere. Name this sphere crest.
33. Move the crest to the top of the head. Translation = 0, 3.5, 0.2.
Figure 1.52: Tail rotation
Figure 1.53: The crest
34. Scale the crest into shape. Scale = 0.17, 0.4, 0.52.
35. Rotate the crest 18° on the X-axis.
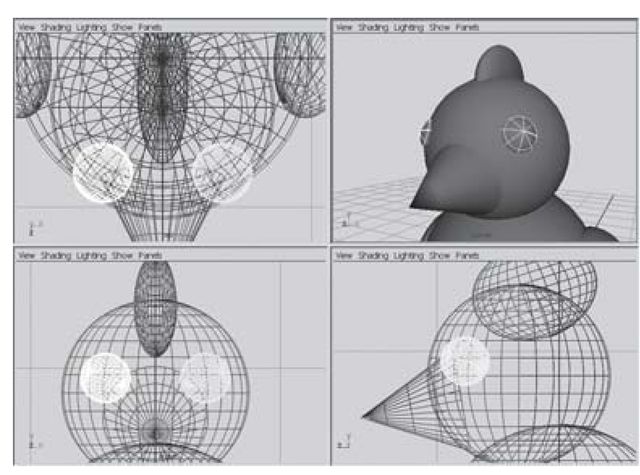
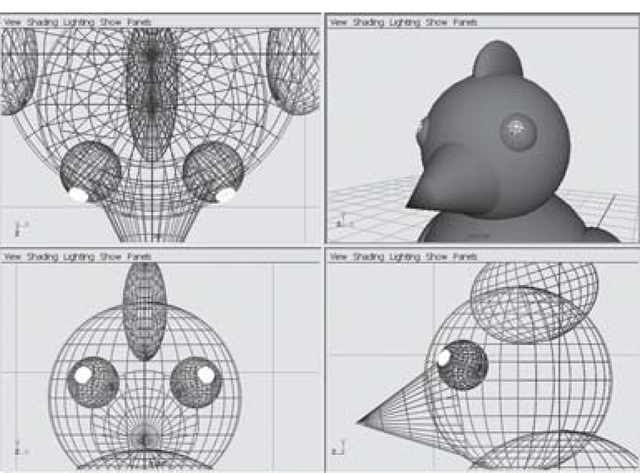
36. OK, you’re in the home stretch now — time to make the eyes (see Figure 1.54). Click Create > NURBS Primitives > Sphere. Name this sphere right_eye.
37. You know the drill by now: move, rotate, and scale the right_eye into place. The settings are: Translation = -0.4, 2.92, 0.77; Rotation = 65, -40, 15; Scale = 0.2, 0.2, 0.2.
38. Repeat the above procedure to make the left_eye. The settings stay the same for scale (unless you’re building a crazy character; we all know that crazy characters have mismatched eye sizes!) while Translation = 0.4, 2.92, 0.77, and Rotation = 65, 40, -15.
Figure 1.54: Eyeballs
Figure 1.55: Pupils
39. Make the two pupils (see Figure 1.55) from NURBS spheres as well, with these settings:
a. Name = right_pupil; Translation = -0.48, 2.98, .92; Rotation = 65, -23, 8; Scale = 0.065, 0.03, 0.065.
b. Name = left_pupil; Translation = 0.48, 2.98, .92; Rotation = 65, 23, -8; Scale = 0.065, 0.03, 0.065.
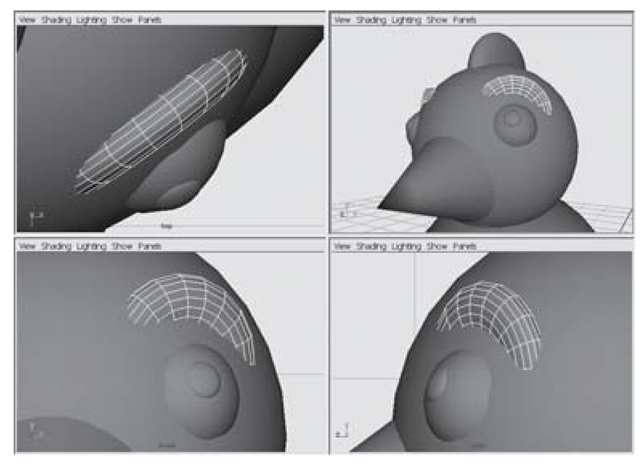
40. The eyebrows will be the finishing touch. For these we’ll use the torus primitive (by the way, “torus” is fancy math-talk for “doughnut”). Click Create > Polygon Primitives > Torus. Rename the object right_brow.
41. Translate, rotate, and scale the right_brow into position (see Figure 1.56). We’ll poke only a small portion of the torus out of the head. Translation = -0.4, 3.021, 0.75; Rotation = 97, -36, -4; Scale = 0.2, 0.12, 0.2.
42. For the left_brow, create another polygonal torus, and use these values: Translation = 0.4, 3.021, 0.75; Rotation = 97, 36, 4; Scale = 0.2, 0.12, 0.2.
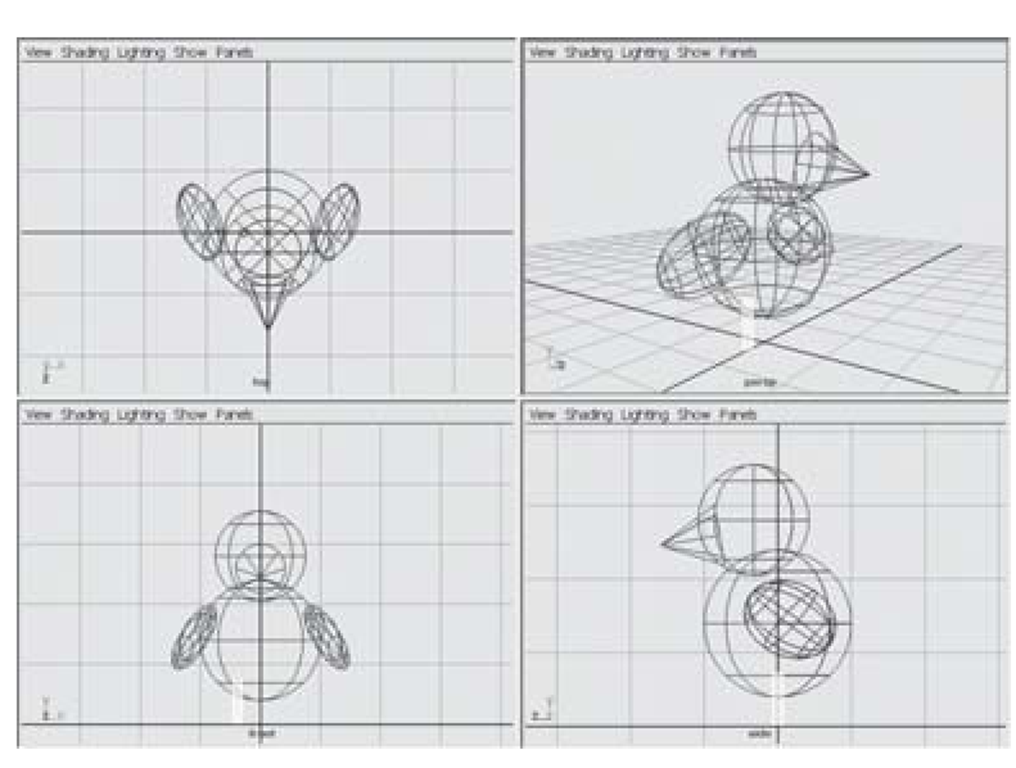
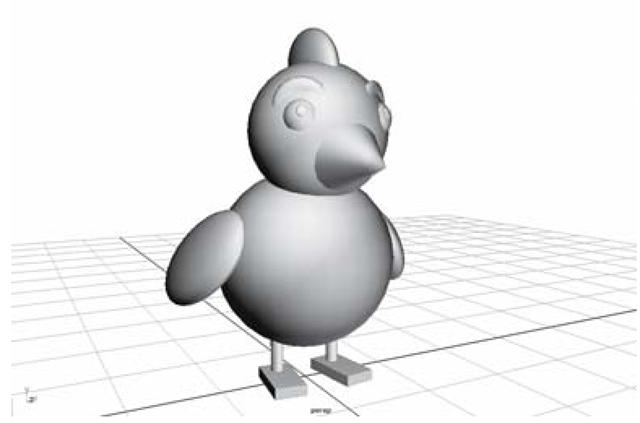
43. Save your scene, and step back a bit to admire your work (see Figure 1.57). Good job!
Figure 1.56: Eyebrow placement
Figure 1.57: Finished chick model
