The NURBS curve is an invaluable tool to use in the creation of surfaces, paths, tfnpA and control objects. There are three primary ways to create them in Maya: Edit r~^7 Point (EP) Curve Tool, Control Vertex (CV) Curve Tool, and Pencil Curve Tool. It is also possible to create new curves by extracting existing curves from other surfaces. For direct curve creation, we will focus on using the CV Curve tool.
Drawing Curves
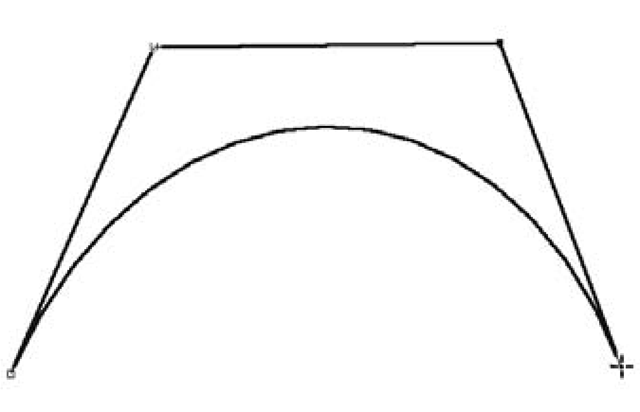
A CV Curve is a curve generated by placing control vertices in your scene (see Figure 3.5). Once you have placed four or more CVs, Maya will display the curve you are creating. The CVs’ relationship to their underlying curve is similar to that of a NURBS sphere’s CVs and their surface. They act as reference points for the weight and direction of a curve being drawn through the hulls that connect the CVs.
Notice how the pair of CVs that were drawn closest together create the shortest hull, and therefore exhibit the most weight upon the curvature of the underlying span. To make a pinch or tight crease draw your CVs close together. For gentle curves draw the CVs far apart.
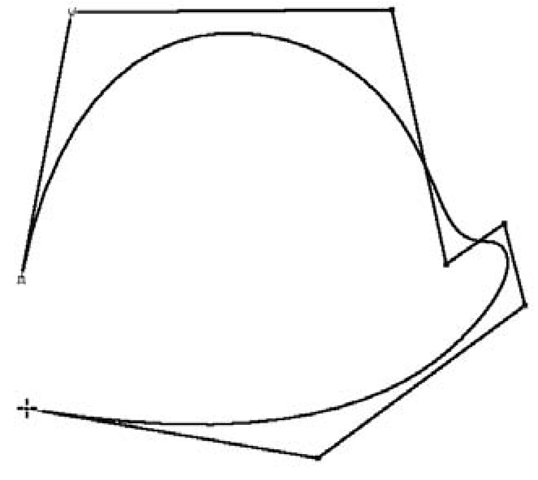
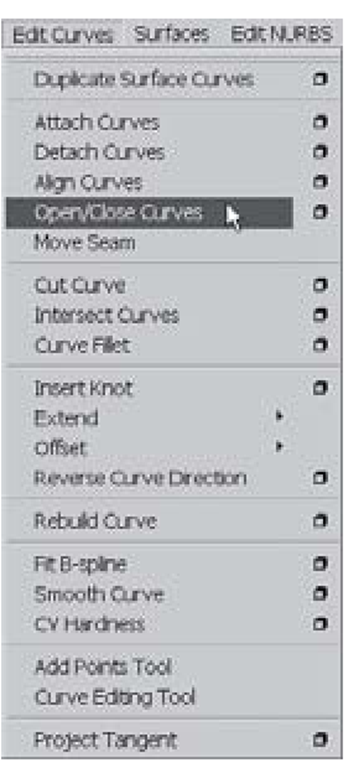
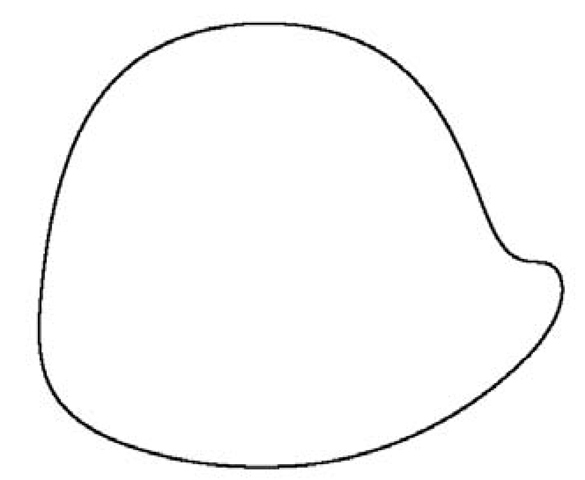
If you need to make a closed curve, draw your final CV near, but not on top of the first CV. Hit the enter key to end curve construction, then choose Edit Curves> Open/Close Curves from the main menu (see Figures 3.6 – 3.8).
You’ll need to be in the Modeling Menu Set.
Figure 3.5: CV curve tool
Figure 3.6: Preparing to close the curve
Figure 3.7: Close curve menu
Figure 3.8: Closed curve
Revolves
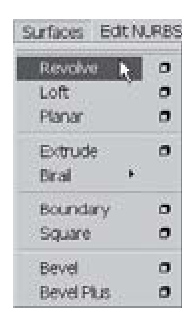
Now that you’re familiar with drawing curves, let’s use one to create a surface. The Surfaces > Revolve command acts like a lathe for your curve. By sweeping your curve about one axis of its pivot point, the Revolve creates a surface.
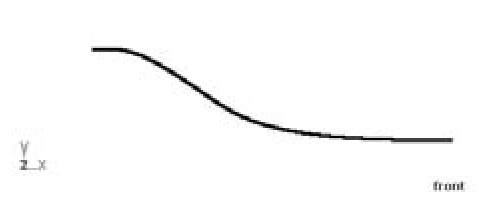
The curve in Figure 3.9 was made with the CV Curve Tool.
Figure 3.9: CV curve
Figure 3.10: Revolve menu
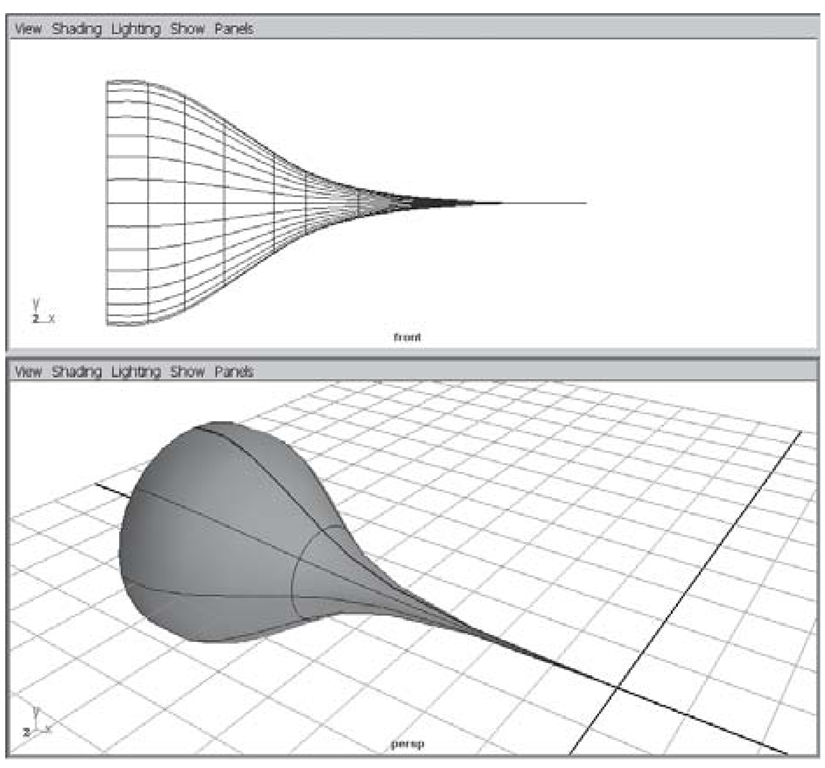
Revolving the curve around its Y-axis creates a bowl (see Figures 3.10 – 3.12).
Figure 3.11: Surface revolve on Y-axis
Figure 3.12: Shaded revolved surface in perspective
The choice of which axis to revolve around is very important. It is fairly common to build your curve in the front view with the intention of revolving around the Y-axis; like clay on a potter’s wheel, the curve spins around to form the surface. It’s perfectly acceptable, however, to spin the curve horizontally on the X-axis. This is similar to spinning a piece of wood on a lathe to create a chair leg or a baseball bat. In Figure 3.13 it has been revolved around the X-axis.
Figure 3.13: Surface revolve on X-axis
Construction History
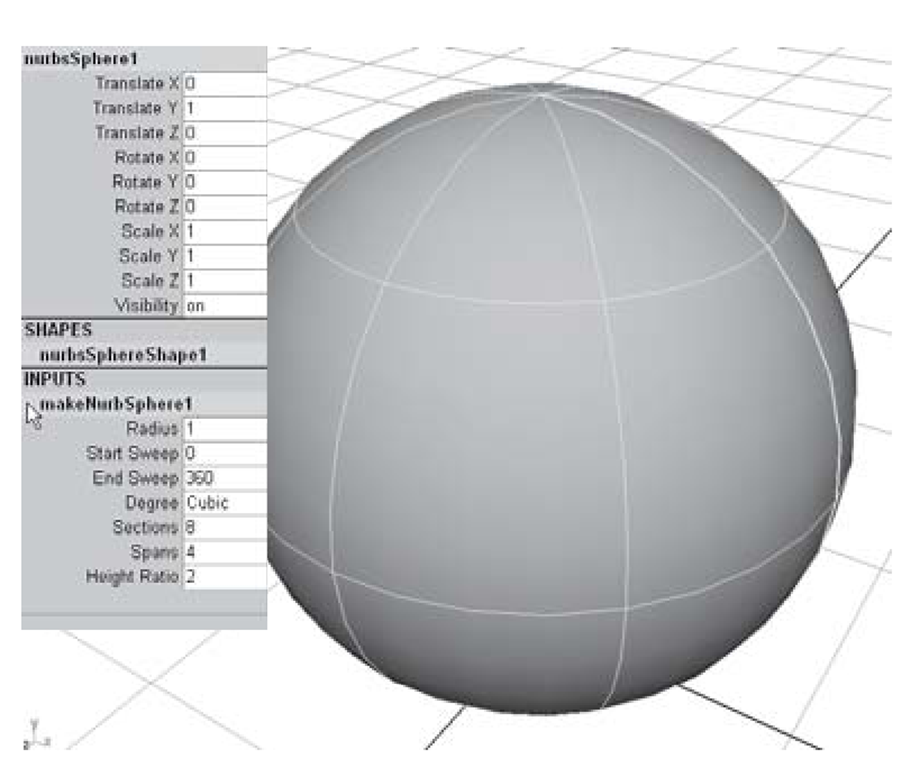
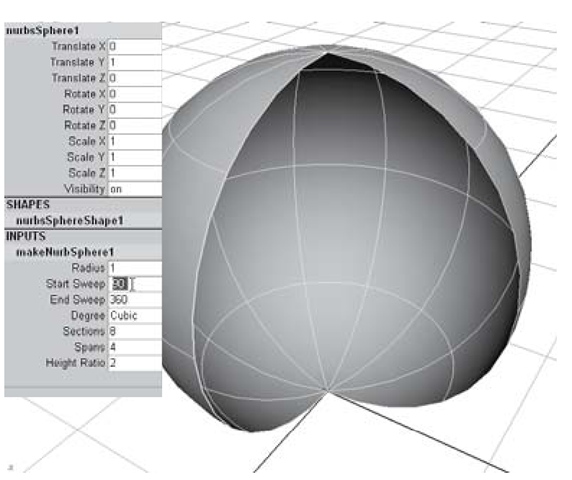
An important concept to understand in Maya is that of construction history. When you create a model, the inputs that you use are stored as the model’s construction history. In the case of a NURBS sphere, that history includes the Radius and Sweep of the sphere. As long as you haven’t deleted the sphere’s construction history you can always alter those inputs that were used to create it (see Figure 3.14 – 3.16).
In the case of a surface that has been derived from a curve (such as the Revolve operation), the CV Curve you drew is one of the surface’s input nodes.
Figure 3.14: Construction history
Figure 3.15: Start sweep of 0°
Figure 3.16: Start sweep of 90°
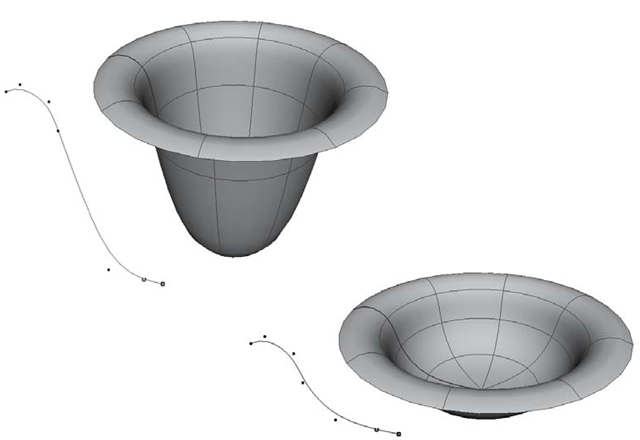
If you change the location of one of the curve’s CVs, the surface will update to reflect the change. Note the example in Figure 3.17.
Figure 3.17: Using construction history to reshape a revolve
