Realistic shadows can really improve the quality of your scenes. It can be jarring to VV look at an otherwise realistically lit scene that lacks the proper shadows. Depending on the light source that casts them, realistic shadows can be either hard or soft at their edges, uniform or gradual in their darkness, and even vary in color. There are many ways to adjust the properties of your shadows to achieve the look you want.
Soft Shadows
The shadows thrown by a light can be adjusted in the Attribute Editor of the light’s shape node. In the Shadows attribute section you can make many significant changes to the way a shadow will look. For a depth map shadow, the resolution can be lowered to remove details (this helps soften harsh shadows) while simultaneously softening the edges through depth map filtering. Raytraced shadows can be softened by increasing the radius and shadow rays cast by the light.
Lighting Exercise — Soft Shadow
1. Set your project to understanding_maya\Chapter03\lighting_softShadows.
2. Open the scene lighting_softShadow_begin.ma.
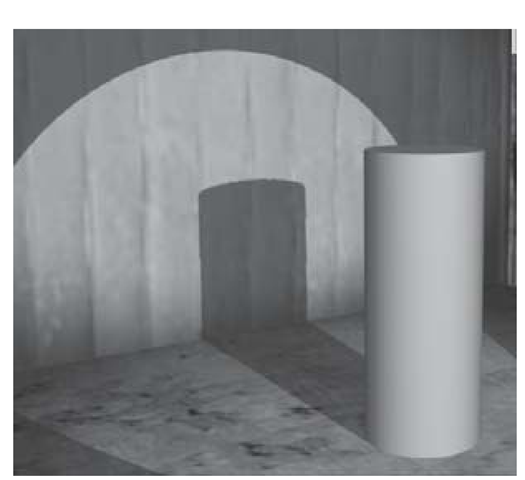
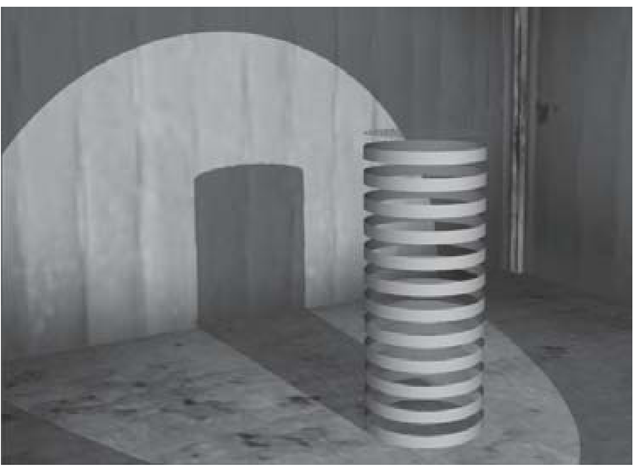
3. The scene is of the interior of the barn and a large cylinder that has been placed inside it. In the Render Globals, set the resolution to 800 x 600 and the anti-aliasing quality to production level. Then render a frame from the camera 1 view. You’ll see a hard shadow cast from the cylinder onto the floor and wall (see Figure 3.85).
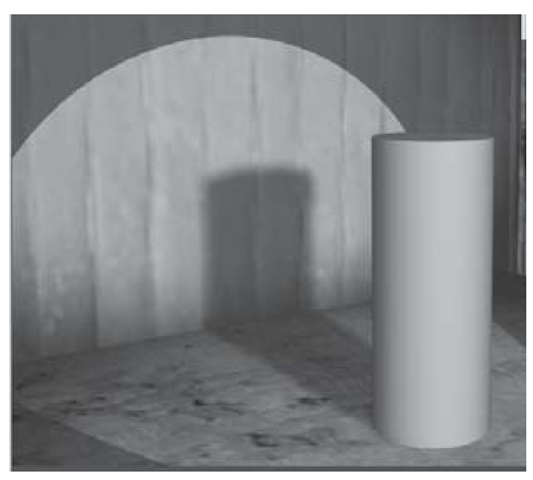
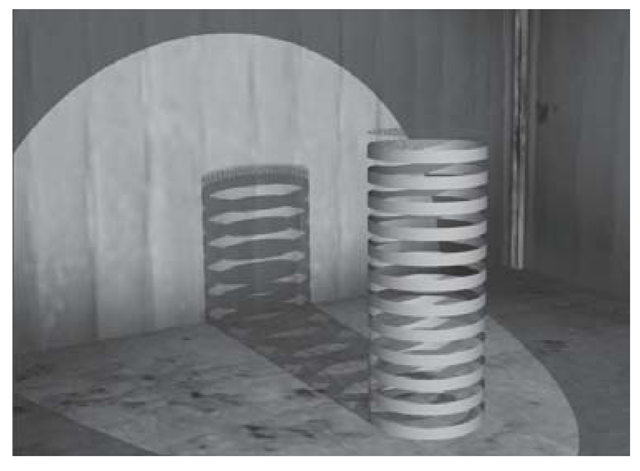
4. Now, select the spotlight and open the Attribute Editor. In the Shadows section, turn the Depth Map Shadow resolution down to 128. Then, turn the Filtering up to 3. Re-render the scene and notice how the edges of the shadow have softened (see Figure 3.86). A smaller depth map is less able to render highly detailed areas of a shadow casting shape. Filtering applies a blur to this low resolution shadow.
Figure 3.85: Default Dmap shadow
Figure 3.86: Soft Dmap shadow
5. In some cases, it may be necessary to use a raytraced shadow, for example, if you have transparent materials on your shadow casting objects. With raytraced shadows we’ll use different settings to soften the shadow’s edges.
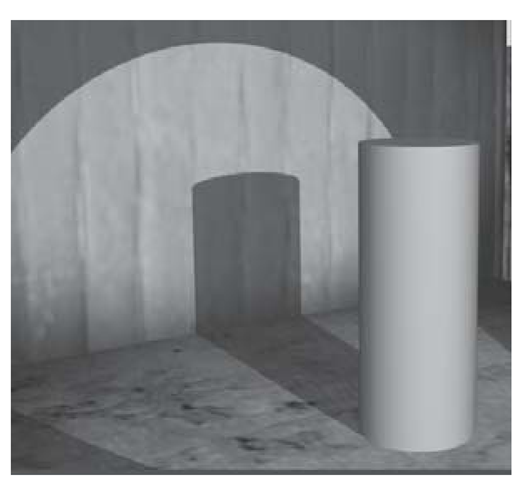
6. First, in the Render Globals, turn on the Raytracing checkbox. Then, in the spotlight’s attribute editor, turn on Raytraced Shadows. Render now and you’ll see a harsh shadow (see Figure 3.87). This works well for scenes lit with bright sunlight.
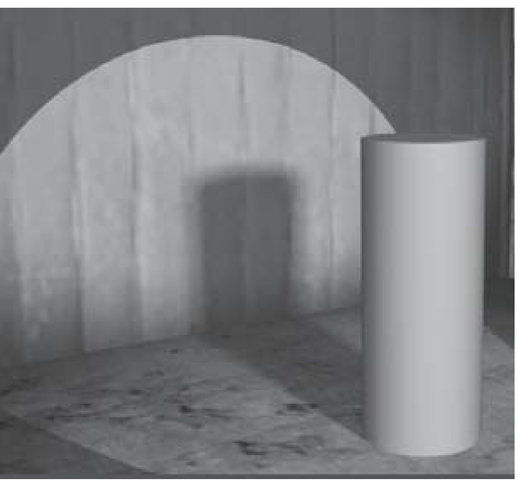
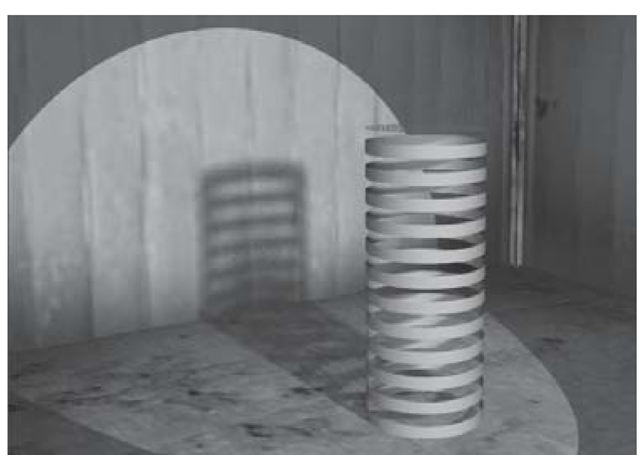
7. Now let’s look at softening those edges. In the Attribute Editor, increase the Light Radius to 1. Then, set the number of Shadow Rays to 7. Render the scene and you’ll see the edges have softened (see Figure 3.88). Unfortunately, soft raytraced shadows are very time consuming to render, so you should generally try to use depth map shadows if at all possible.
Figure 3.87: Default raytraced shadow
Figure 3.88: Soft raytraced shadow
What are some cases where you would have to use a raytraced shadow? If you have a surface with a transparency matte in its material or a colored semi-transparent material such as stained glass, depth map shadows will spoil the illusion. In these cases, one solution would be to raytrace the shadows (see Figures 3.89 – 3.91).
Figure 3.89: Dmap shadow
Figure 3.90: Raytraced shadow
Figure 3.91: Soft raytraced shadow
Gobos
When some portion of a light is occluded from hitting its target, a shadow is formed (see Figure 3.92). Often when you want a specific shadow throw pattern to appear, instead of literally placing a 3D model in the path of light, you’ll instead use a gobo. A gobo is a pattern that goes between the light and the target. The use of gobos (also called “cookies”) to cast shadows in the shape of leaves, Venetian blinds, jail cell bars, overhead telephone wires, etc. is common in theater, television, and film lighting. Gobos are also employed in 3D animation to suggest the presence of objects that are not really in the scene. In any case where the camera will see a shadow (but not the object casting that shadow), it is more efficient to use a gobo than a real object.
You can add a gobo by mapping a texture to either the intensity or color slot of your light. This texture can be procedural, like a grid or checker pattern, or it can be an image file. 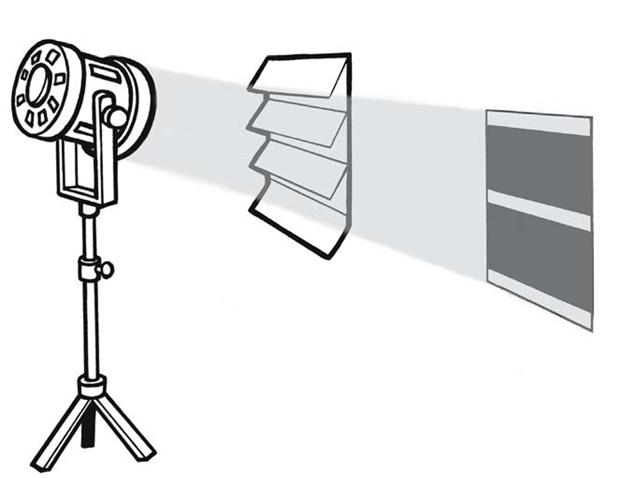
Figure 3.92: Venetian blinds in front of a light
