Animation Exercise — Tangent Plane
To edit function curve tangency in a more practical example, we’ll control the acceleration and braking of the airplane model.
1. Set your project to understanding_maya\Chapter03\animation_tangent_plane.
2. Open the scene animation_tangent_plane_begin.ma.
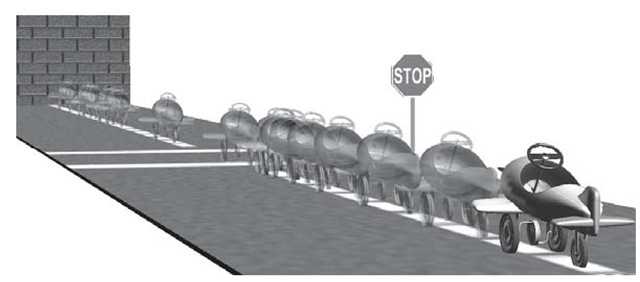
3. Press play — you’ll see the airplane moving at a constant rate (see Figure 3.49).
4. In Hierarchy mode, select the pursuitPlaneGroup. (You can switch to Hierarchy mode by clicking the Select by hierarchy and combinations button on the Status Line.)
5. Open the Graph Editor and look at the Translatez channel. You will see a set of keyframes that mark the times when the plane should start, stop at the stop sign, accelerate, and then stop again. Currently, these keyframes are all on a straight line, so there is only a constant motion from beginning to end.
6. You will select and move the keyframes in the Graph Editor in order to alter the timing of the animation. First, advance to frame 65 on the timeline. Choose the Move Tool from the Tool Box (you can also press the w hotkey on your keyboard) so that you can move the keyframes. Now select the third keyframe, which is at frame 65.
7. In the Graph Editor, some things work a bit differently than in the model view panels. The Move Tool, for example, is used by pressing the middle mouse button instead of the usual left mouse button. MMB-click-drag the keyframe in order to move its time and value. Horizontal movement changes the time of the keyframe, while vertical movement changes the value. You should try to get the plane to stop in front of the stop sign by moving the keyframe to a value of 26.
Figure 3.50: Retiming keyframes three and four
a. With the third keyframe selected, hold the Shift key on your keyboard while MMB-dragging down. Watch the Key Value data field in the upper left corner of the Graph Editor. Bring this keyframe down to a value of 26. (You can type the number directly into the Key Value field if you like.) You’ll see the plane move back in front of the stop sign.
b. We want to have the plane stop for a few seconds. Select the fourth keyframe (the one at frame 100) and move it to a value of 26. This means that the value is constant for 74 frames — about three seconds. Notice the shape ofyour function curve in the Graph Editor: A flat line indicates a hold during animation (see Figure 3.50).
c. Rewind and then play back your animation. You’ll see the plane stop and hold in front of the sign for a few seconds before continuing on to the end.
Figure 3.51: New keyframe values
8. Next we’ll get the plane to hit the wall much sooner, so that we have some time at the end for it to bounce back. Set the time slider to frame 146. Now, select the keyframe at frame 146. Increase its value in the Graph Editor until it is touching the wall, or 116 units (see Figure 3.51). (Who the heck puts a brick wall at the end of a runway?!) Play the animation to see the new result.
9. Instead of allowing the plane to hold for the last two seconds, we’ll make it roll backward a bit. Advance the time slider to 190. In the Graph Editor, select the last keyframe and move its value down to about 72 units (see Figure 3.51). This time when you play the animation you’ll see the plane bounce back off the wall.
At this point you’ve worked out all the key poses and timings of the animation, but the in-between frames are very stiff and mechanical. It’s time for you to add some finesse to the animation. When the keyframes were initially created for this animation, they were created with linear interpolation. This is the equivalent to evenly spacing the in-betweens; the points between the extremes are evenly subdivided.
Figure 3.52: Eased acceleration
To create better timing between the keys we need to alter the shape and tangency of the function curve. Each keyframe has an incoming and an outgoing tangency type and direction. These can be controlled with Bezier handles.
10. Select the keyframe at frame 33. In the Graph Editor notice how the line segment on either side of this point is perfectly straight. This means there is no gradual deceleration as the plane reaches the stop sign. The speed change is very abrupt. In the Graph Editor menu, click on Tangents > Spline. You’ve made a much gentler speed change (see Figure 3.52). Play back your animation to see the plane ease into the stop.
Easing-into or easing-out of a position is also known as a slow-in and a slow-out. During a slow-in the motion cushions gently into a position, like the plane now does at the stop sign. A slow-out is a gentle acceleration.
Figure 3.53: The hitch
Figure 3.54: Flattened tangents to the rescue
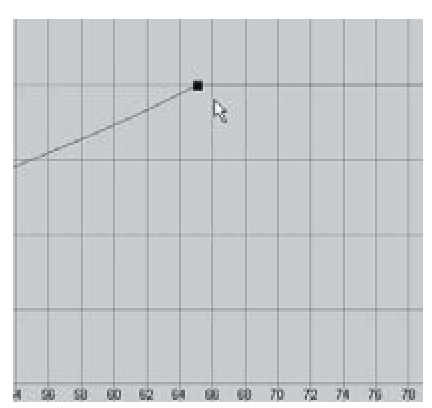
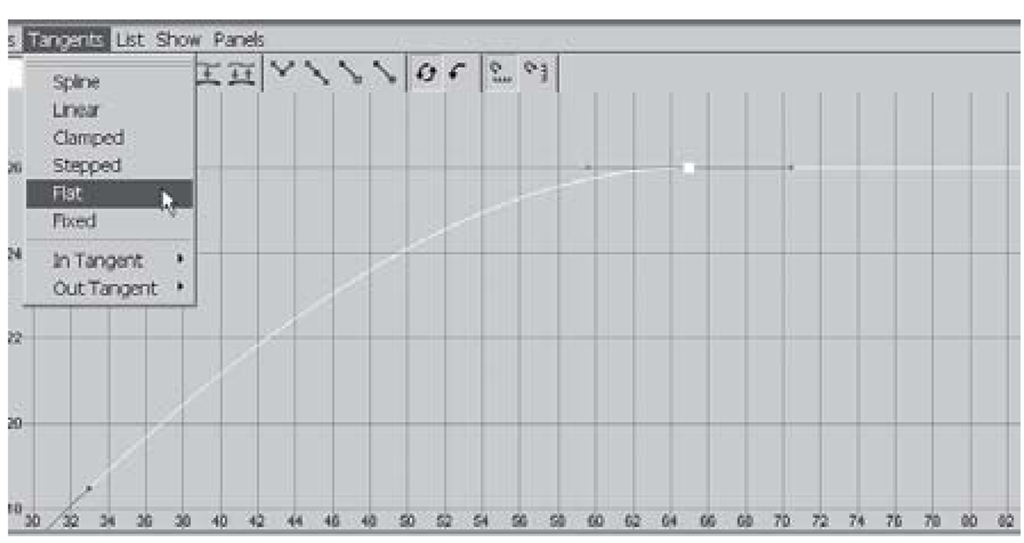
11. Look closely at the way the curve reaches the third key at frame 65 (see Figure 3.53). There is a bit of a hitch in the curve, which translates into a jerk in the motion as the plane stops. To smooth this out, we need to flatten the tangency as it makes its way into the key. To do this, begin by selecting the third keyframe in the Graph Editor. Next, drag a selection box around the blue handle on the left of the keyframe. This is the In Tangent handle for the keyframe. Click (in the Graph Editor menu) on Tangents > Flat. This has smoothed the kink out of the curve (see Figure 3.54). Try playing back the animation to see the results. You now have a perfect deceleration (slow-in) at the stop sign.
12. You probably want to create a more realistic acceleration after the hold. Currently, the plane jumps from 0 to 60 in an instant. A slow-out will do just the trick. Select the fourth key at frame 100 in the Graph Editor. Next select the Out Tangent handle to the right of the keyframe. Again, make the tangency flat, this time by clicking the Flat tangents icon. Play the animation to see your new improved acceleration.
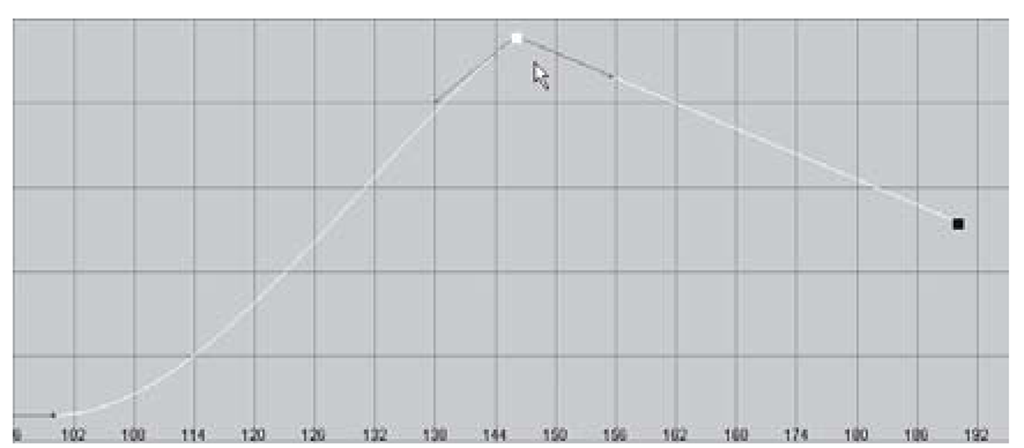
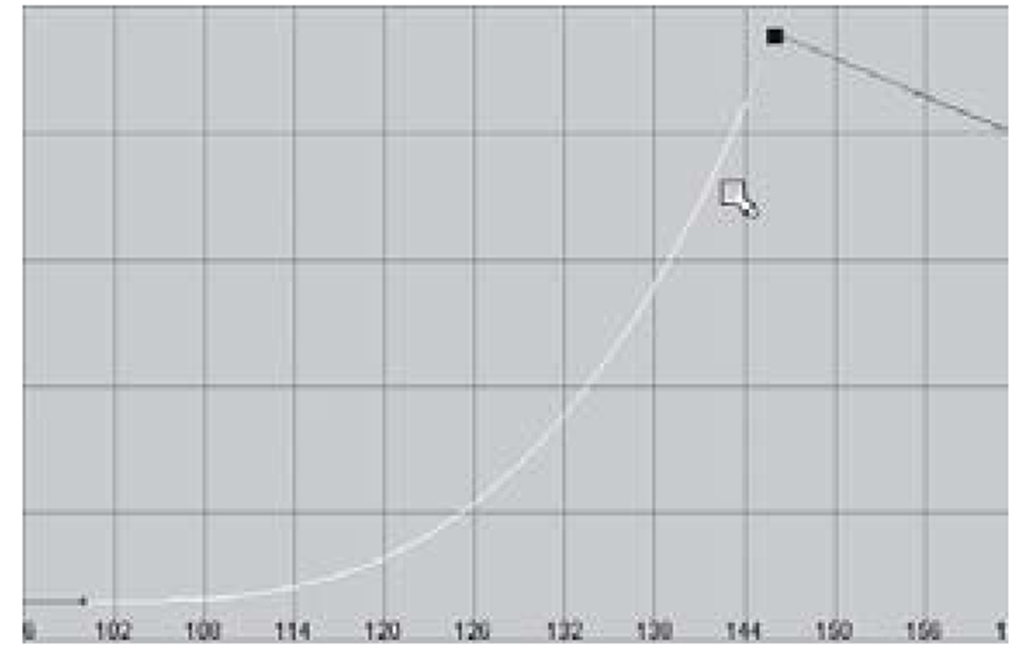
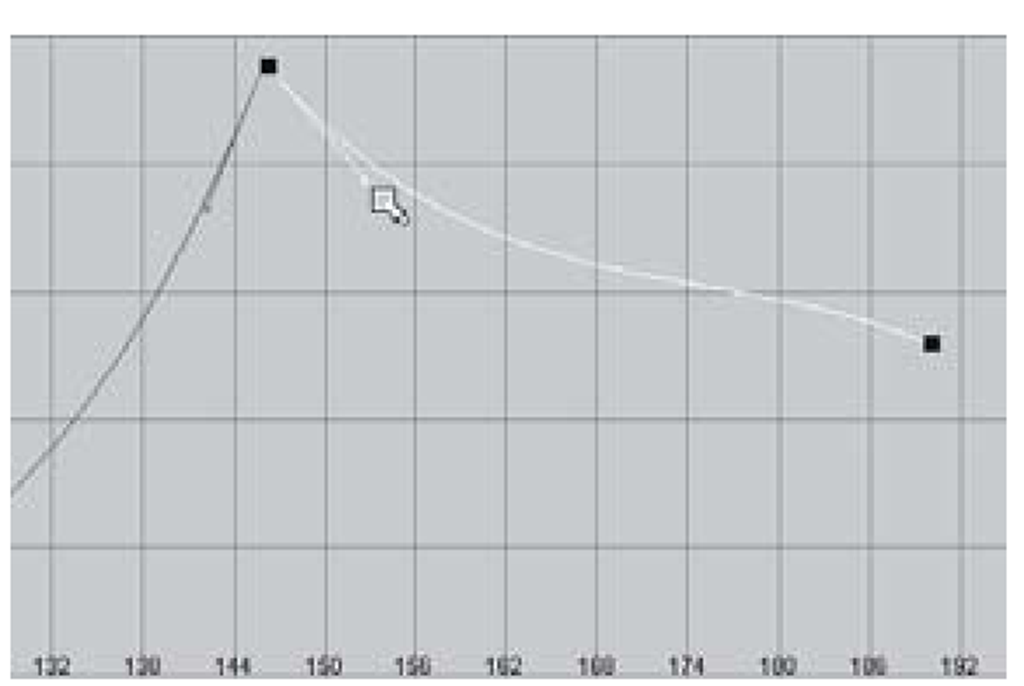
13. Now, we’ll make the plane bounce sharply off the wall. This can be accomplished through fast-in and fast-out tangency for the key at frame 146. To do this, select the keyframe and then highlight the blue In Tangent handle. MMB-click-drag it down to about an 80° angle as in Figure 3.57.
14. Select the brown Out Tangent handle on the right side of the keyframe. Drag its value down to about a -70° angle. This will create a sharp peak as the curve enters and exits the key. This shape is used for fast bounces (see Figures 3.55 -3.57).
Figure 3.55: Frame 146
Figure 3.56: In tangent at 80°
Figure 3.57: Out tangent at -70°
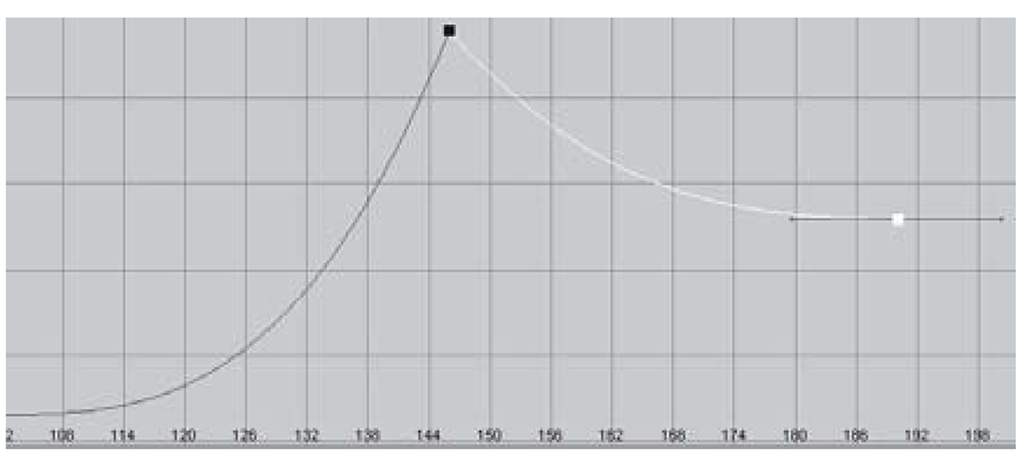
15. Give the final keyframe a nice slow-in to finish things off (see Figure 3.58). Play the animation to see the final results (see Figure 3.59). Remember, the keyframes changed very little during the course of this exercise – it’s the in-betweens that you really got to do all the work.
Figure 3.58: Soft braking at the end
16. Save your scene as animation_graphEditor_plane.ma.
Figure 3.59: The finished animation


